Have you seen microgreens on the menu of a fancy restaurant and wondered what they were? Or maybe you saw them over the summer at a farmers’ market but passed them up because of the hefty price tag.
It turns out, with the right setup, you can have this fresh, nutritious add-on all year long with very little effort.
What are microgreens?
Simply put, microgreens are young plants. They differ from sprouts in that sprouts are the result of germinated seeds, often grown in the dark, and the entire seedling is eaten. With microgreens, only the tops of the plants are eaten.
There are a variety of plants that can be eaten as microgreens, and each one will add a slightly different flavor to your meals. One good choice includes things in the brassica (broccoli) family, like radish, broccoli, kale, cress, etc. These will have a similar flavor to their more well-known versions, but slightly more delicate.
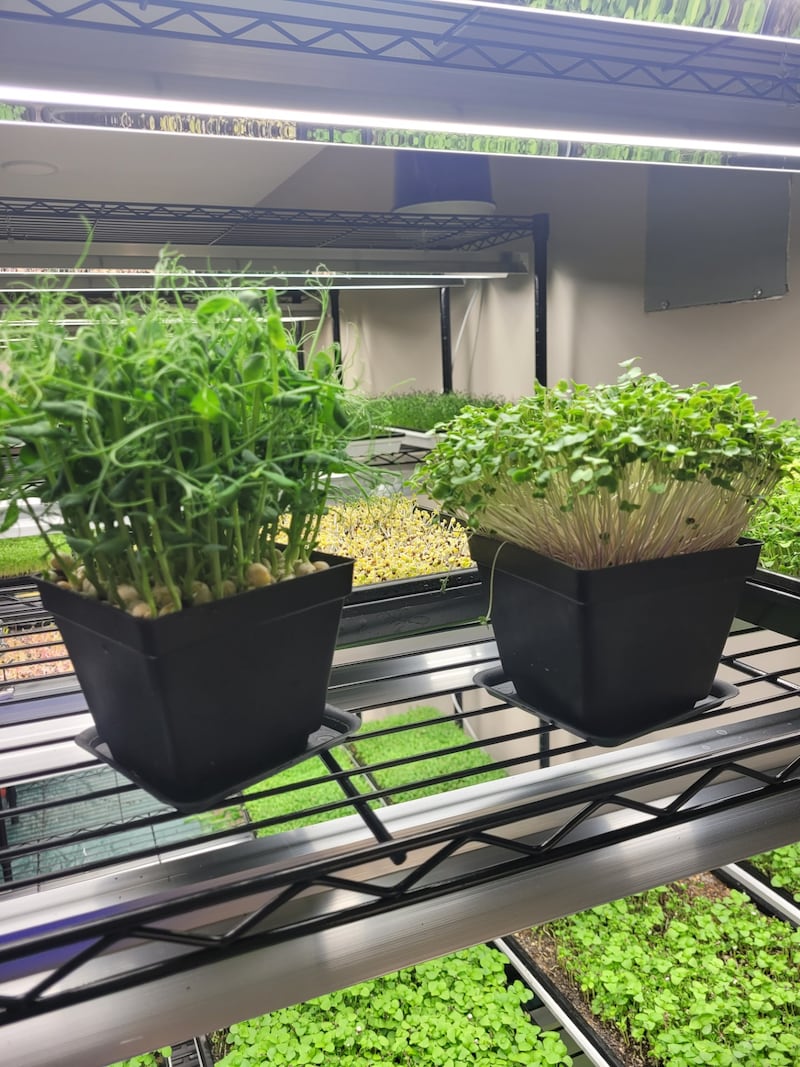
Other examples of microgreens include red beets, beans and peas, sunflowers, spinach, carrot, clover and flax. Aromatic herb microgreens like basil, cilantro and dill also can pack a light punch when added to meals.
Once seeds are planted, they are usually ready for harvest within 10-14 days, depending on the species. Microgreens are a great source of fiber, vitamins, minerals and antioxidants and can be grown year-round right in your kitchen.
Growing microgreens
Finding seeds for microgreens is easy, as many companies have developed lines specifically for this purpose. Choose seeds with good germinability and that have not been treated with chemicals or coatings.
Next, get a wide, shallow container and use a seed density calculator, like the one developed by the Penn State Extension to determine how much seed you will need. (You also can figure this out on your own by multiplying the recommended seed density by the area of your planting container.)
Once you know the right amount of seed, fill your container with an inch or two of moistened potting mix. Sprinkle the seeds evenly across the surface and then cover with a thin layer of soil. Mist lightly with a spray bottle and then cover with a clear lid or plastic wrap. Water daily, keeping the soil moist, but not soaked.
Once the seeds have sprouted, remove the cover and continue misting once or twice a day, as needed. Seedlings will need at least four hours of light every day. If your seedlings are leggy, they may require supplementation with a grow light.
Once the first set of true leaves have formed, they are ready for harvest. Use kitchen shears or scissors to cut the greens at soil level. Eat the same day, or store in a bag in the refrigerator for up to a week.
For more information on gardening, check out the University of Illinois Extension’s microgreen growing activity at extension.illinois.edu/sites/default/files/growing_microgreens.pdf.
Also, check out the University of Illinois Extension Horticulture YouTube Channel for videos on other horticulture topics.
• Jamie Viebach is the University of Illinois Extension horticulture educator serving DuPage, Kane, and Kendall counties. Viebach’s primary areas ofexpertise are native plants, landscaping, pollinators, and rain gardens.